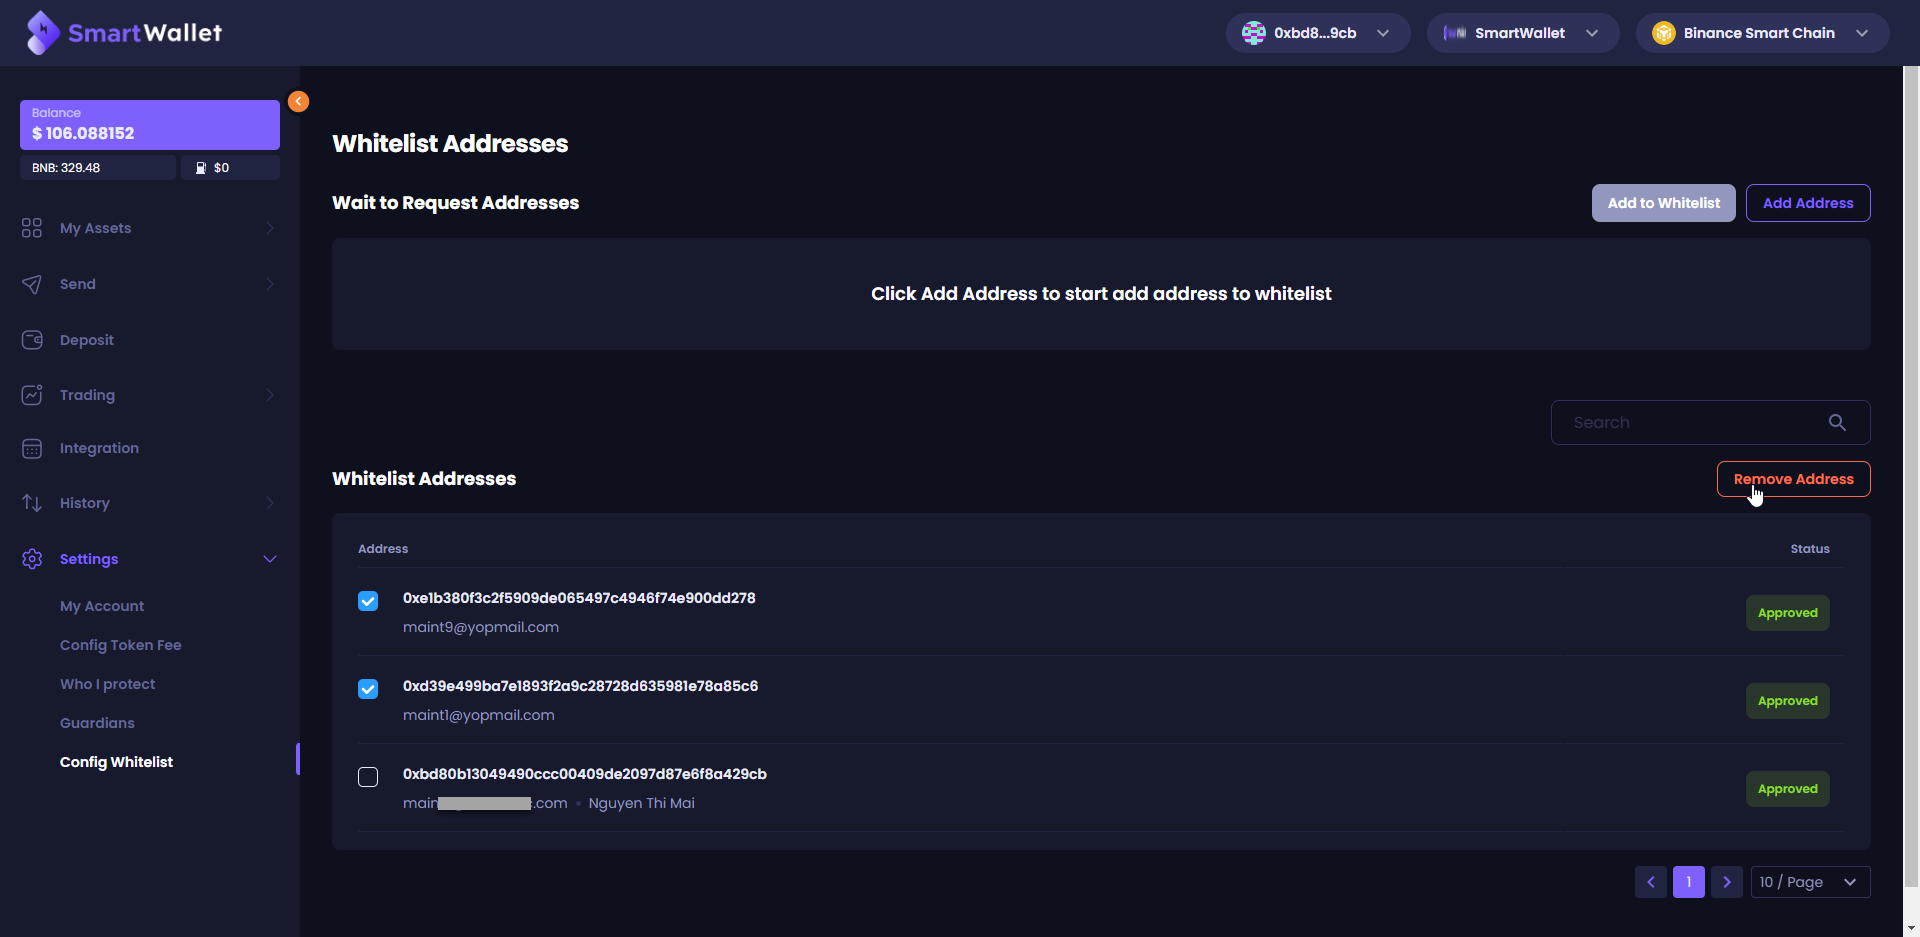
Add/remove whitelist participants
Add addresses to whitelist
Whitelist is a list of addresses that you can transfer to without needing the approvals of guardians. Read more about whitelist in this article.
Step 1: Go to Setting -> Config Whitelist
You need to add the addresses to the ‘Wait to Request Addresses’ by click on ‘Add Address’ button
Then enter the valid wallet address and click on the ‘Save’ button. The wallet address will be added into the ‘Wait to Request Addresses’ list. Similar operation to add more addresses to the list.
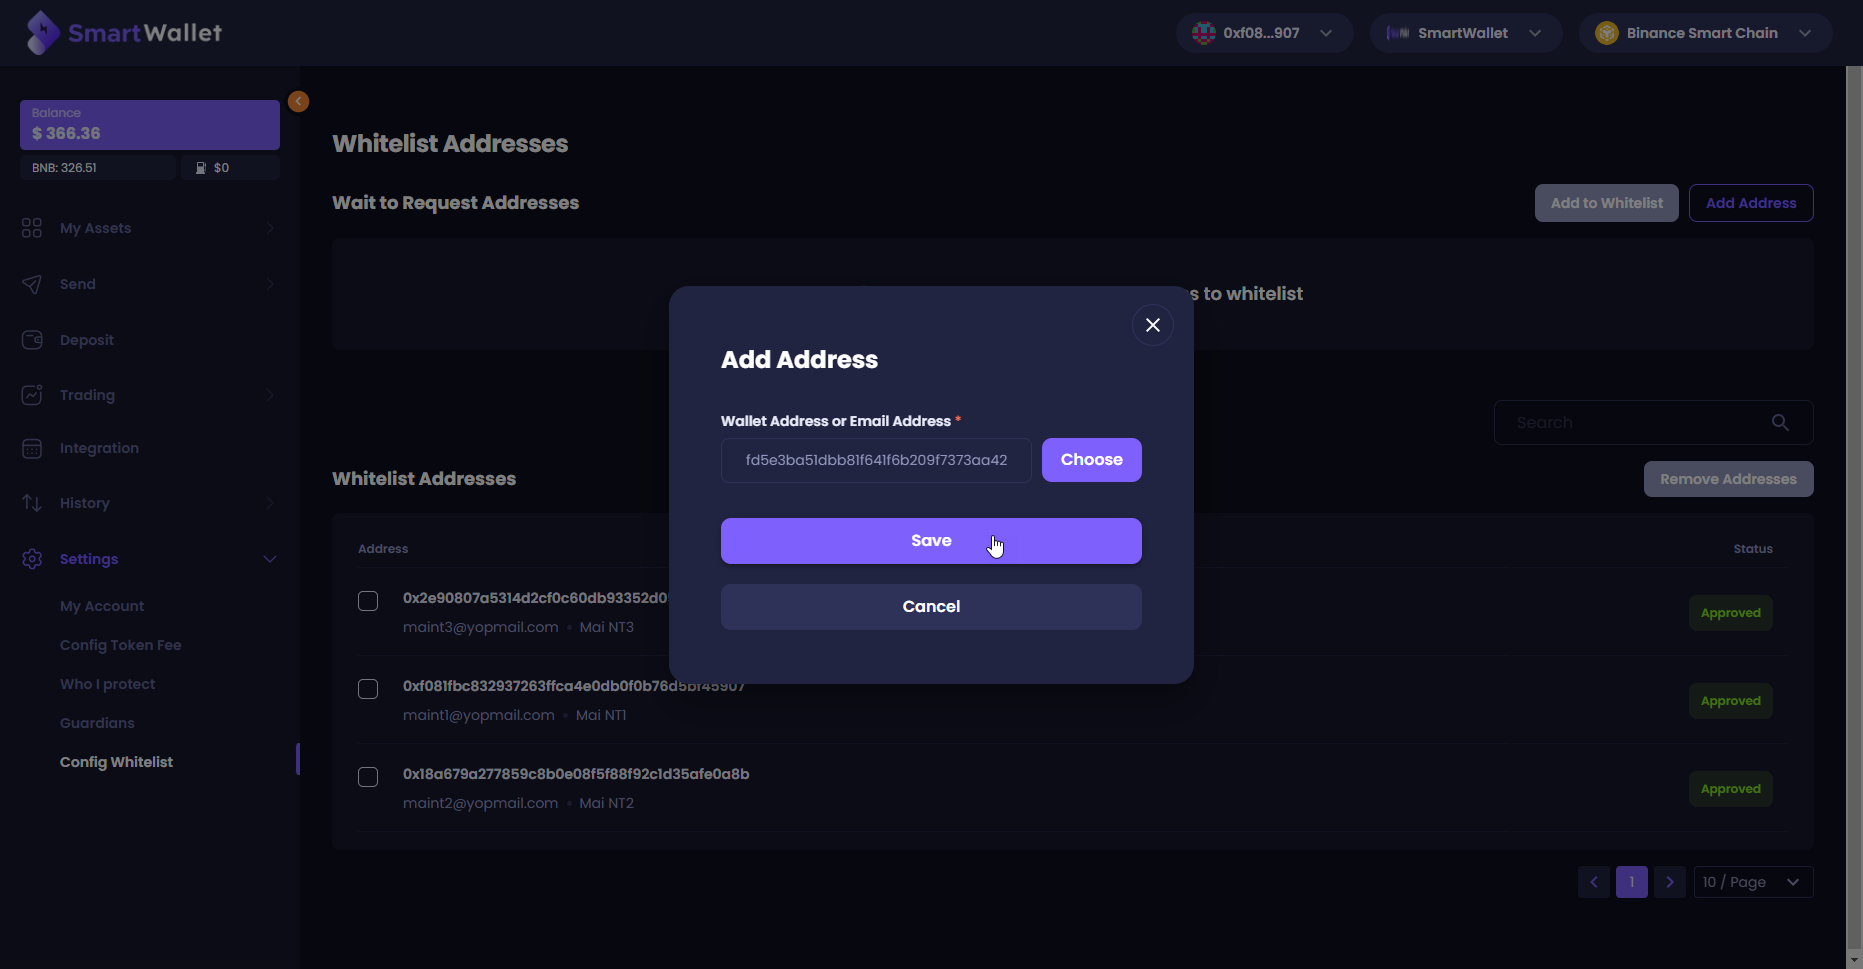
Then you make a request to add the addresses to Whitelist by clicking the Add to Whitelist button.
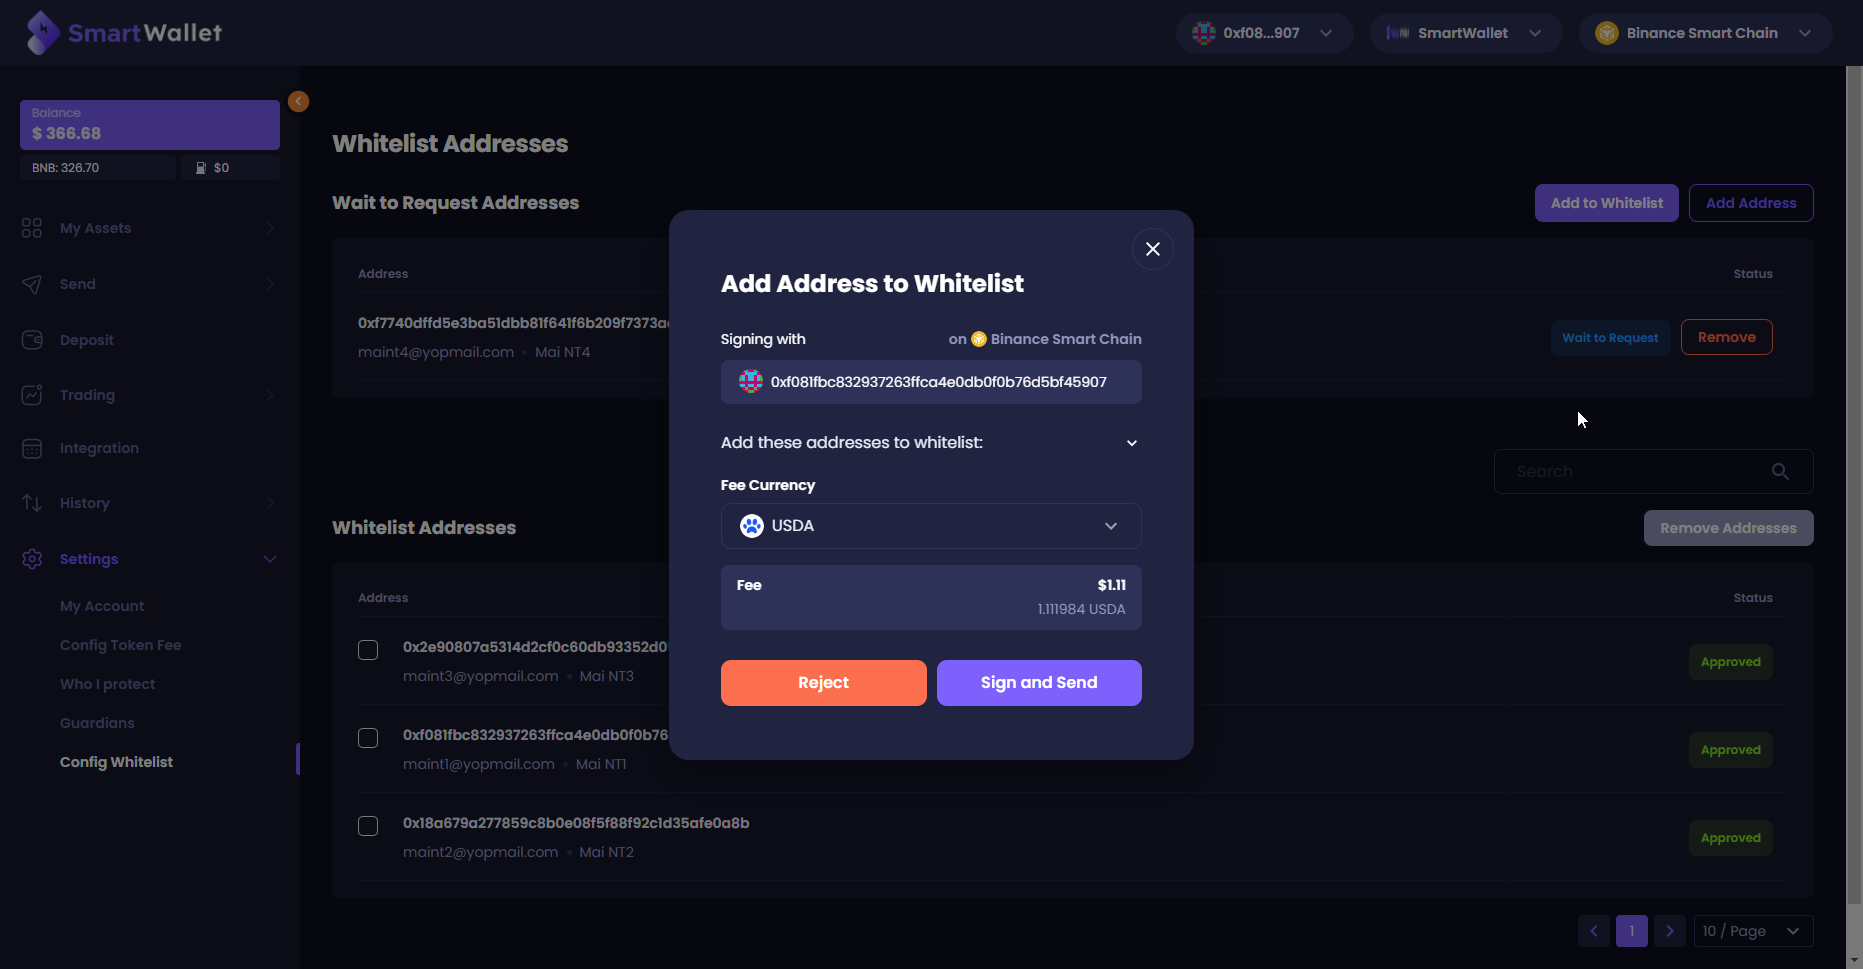
Step 2: Select Fee Currency and click Sign and Send. Ensure your balance is enough to pay the fee.
After you click Sign and Send, the system will save your add guardian transaction to history, then you can track your request in the History page.
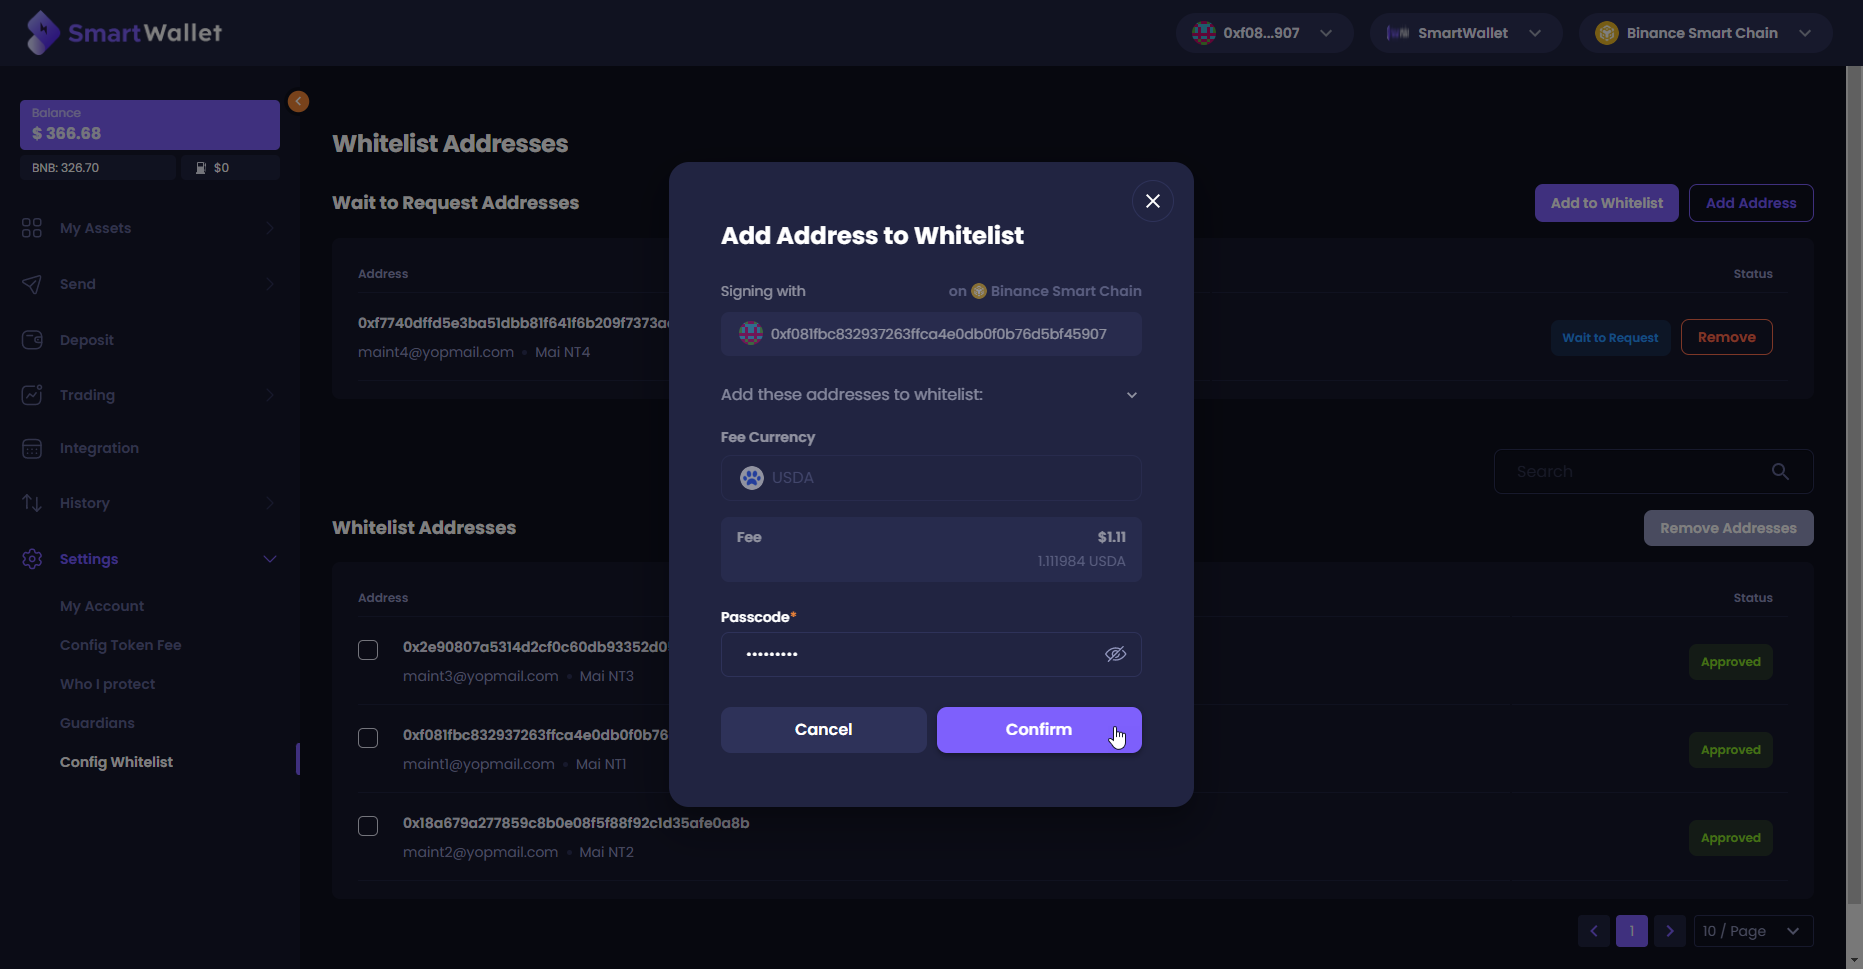
Step 3: Enter valid passcode and click Confirm.
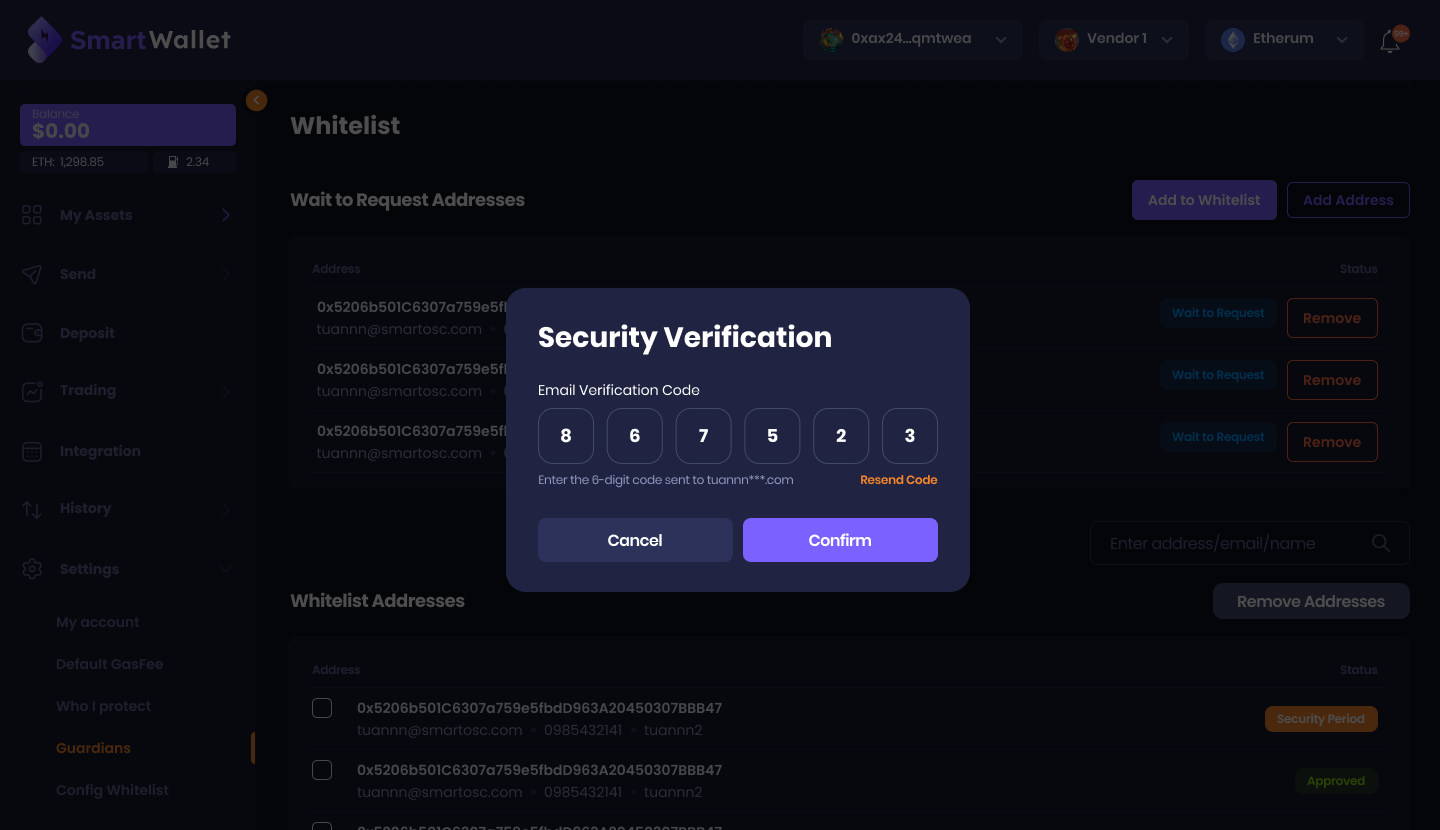
Step 4: A Verification code will be sent to your email. Enter the code and click Confirm.
Note: The code is only valid within 15 minutes after it’s sent to you. If the code expires, You can request the system to resend by clicking Resend code.
After confirmation, if you have a guardian, proceed to step 5. If you do not have a guardian, proceed to step 6.
Step 5: An approval request will be sent to your guardians. You will need half the number of guardians to approve to execute the request. If within 24h you don’t have enough guardians’ signatures, the requests will expire.
Step 6: Wait for a while for the system to add the address as an official guardian. Once the wallet address becomes your official guardian, they will be able to approve multi-signature requests.
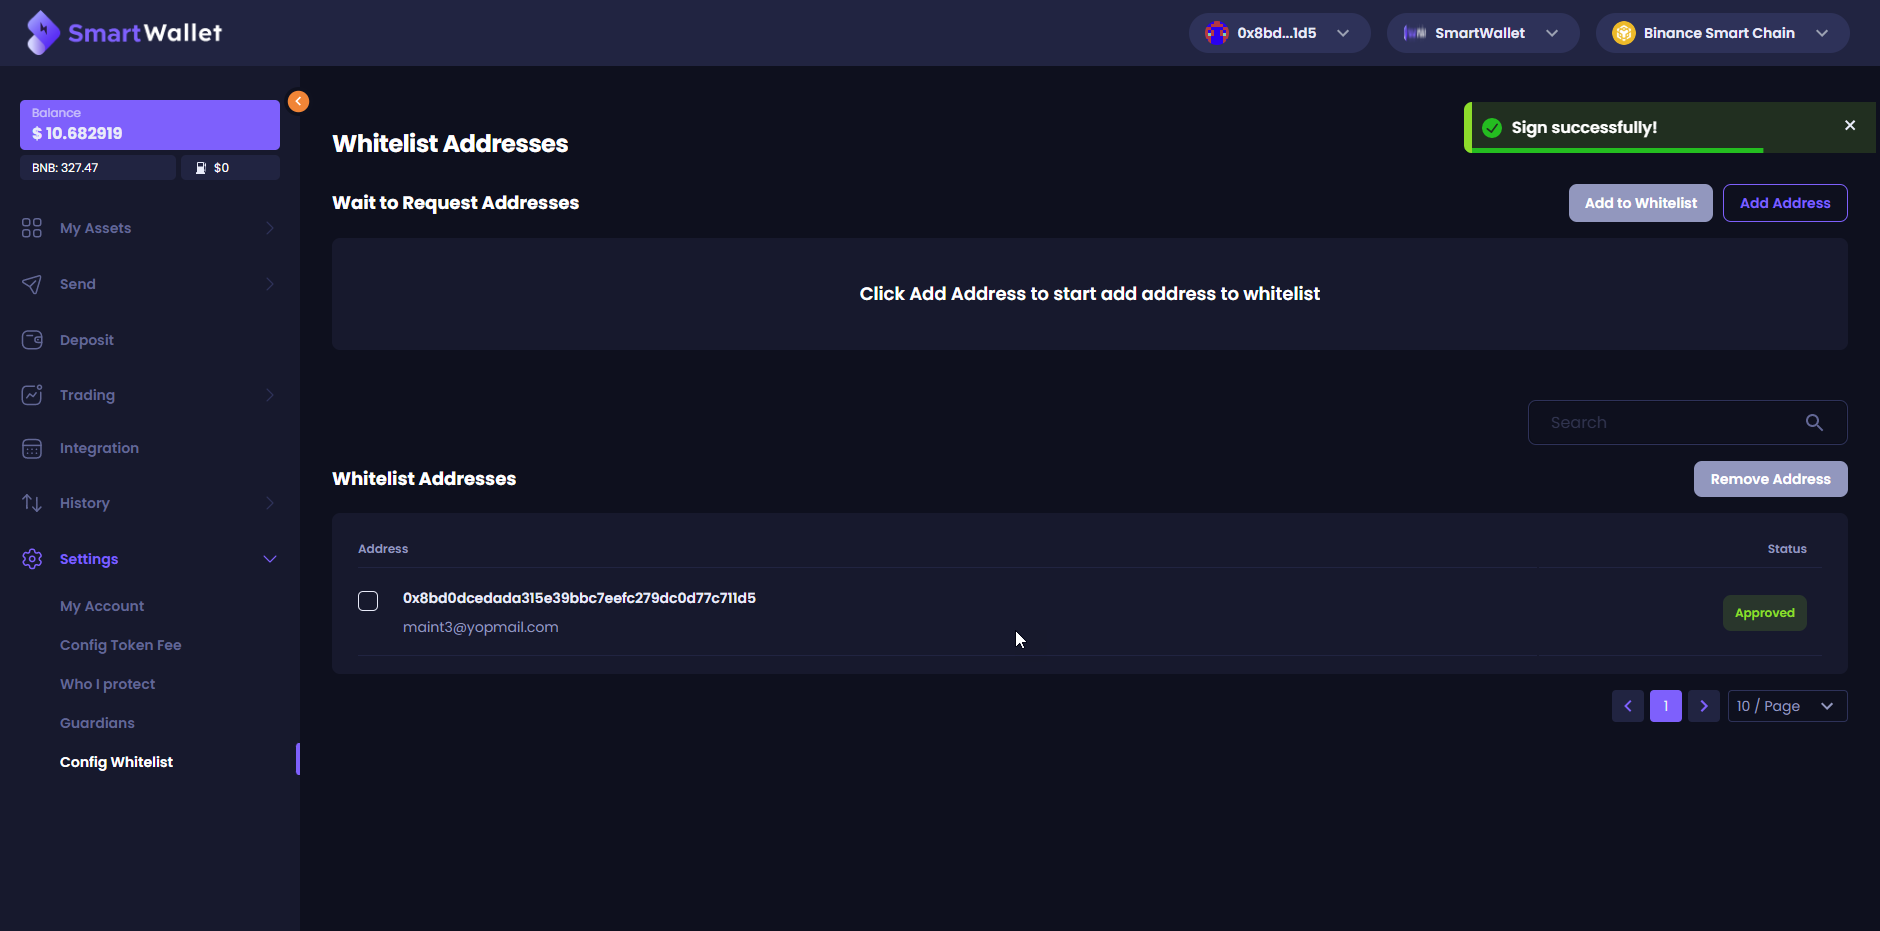
Remove whitelist participants
Select addresses by clicking the checkbox, then click Remove Address. Select token to pay fee, enter passcode and verification code sent to your email to confirm.
